Today we are going to use Travis CI (free for an open-source repository) to deploy continuously a Scala.js app on Github pages. All your commit on the master branch put your static files on a gh-pages branch once the test is validated.
Scala.js is a compiler that compiles Scala source code to equivalent Javascript code.
Li Haoyi : http://www.lihaoyi.com/hands-on-scala-js/
Travis CI is a hosted continuous integration service used to build and test software projects hosted at GitHub.
Wikipedia : https://en.wikipedia.org/wiki/Travis_CI
Prerequisites
Before following this tutorial, you need to download and install sbt and Node.js, and have an Github account.
Create the project
Run the following command:
1 | sbt new scala/hello-world.g8 |
, and enter a name for your project. This creates a Scala project from the “hello-world” template.
Setup Scala.js
If you want to start from scratch without Scala.js project you can do this step.
Create the file project/plugins.sbt, and add the following line to adding the Scala.js sbt plugin:
1 | addSbtPlugin("org.scala-js" % "sbt-scalajs" % "0.6.29") |
We also setup basic project settings and enable this plugin in the sbt build file. Add this following line in the build.sbt (in the project root directory) :
1 | enablePlugins(ScalaJSPlugin) |
To run this, simply launch sbt and invoke the run task:
1 | $ sbt run |
The run task creates the hello-world-fastopt.js in target\scala-2.13\ directory. Remember the name of the file for later.
Integrating with HTML
To load and launch the created JavaScript, you will need an HTML file.
Create the folder source in the root directory of your project. You will put all your sources files (html, image, script, style) in this folder.
Create the file source/index.html with the following content.
1 | <!DOCTYPE html> |
Create the Github repository
Add .gitignore file in the root folder of your project, with the following content:
1 | *.class |
And follow this tutorial to add an existing project to GitHub using the command line. Your repository should be public if you want to use Travis CI for free.
Setup Travis CI
In this part, I use the free version of Travis CI.
First, you need to add Travis CI application to your Github account.
Generate a new token with repo scopes. Remember the token value for later.
Go to Applications settings, and configure Travis CI to have access to the repository. You’ll be redirected to the Travis page.
On the Travis page, go to your repository’s setting. Under Environment Variables, put GH_TOKEN as name and paste the token onto value. Click Add to save it.
Earlier we created the
sourcefolder to place the static files of our app in it. To generate static files Travis CI copies the content of apublicfolder to the root of a project and commits it to thegh-pagesbranch. We will create a script to move our static files to a public folder.Add and commit
deploy.shfile to your repository to generate static files on Travis CI with the following content:
1 | if [ ! -d "public" ]; then |
- Add and commit
.travis.ymlfile to your repository to configure Travis CI with the following content:
1 | language: scala |
Once Travis CI finish the deployment, the generated pages can be found in the gh-pages branch of your repository.
Your Scala.js App is deployed on Github Pages !
In your GitHub repository setting, navigate to “GitHub Pages” section and change Source to gh-pages branch.

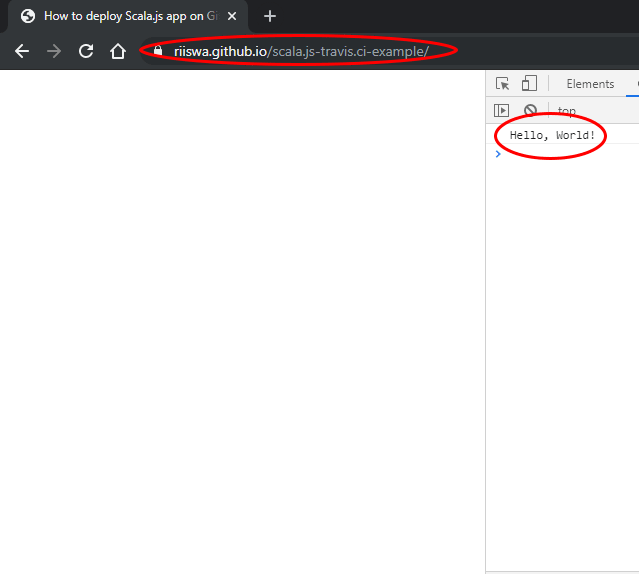
Congratulations! Your Scala.js app is ready and available at username.github.io/repository-name. The Scala code:
1 | object Main extends App { |
a well executed (see console).
You can find all the source code used in this tutorial here.
To go further
You will go further in your projects than a simple “Hello World”. For more information on Scala.js, I invite you to consult the official documentation.
Sources:


